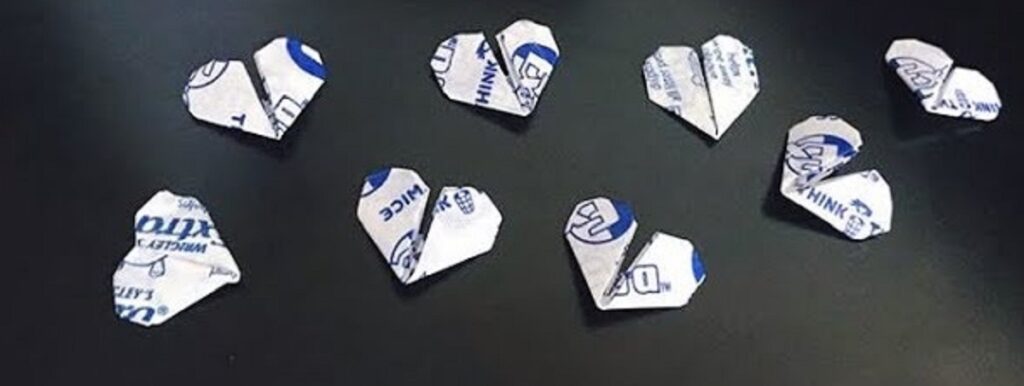
Paper crafting is the art of manipulating and creating with paper. It has been a cherished skill for centuries. Additionally, it offers a vast array of opportunities to individuals of all ages who love art and craft. Through this, you will learn how to design a beautiful paper sculpture from intricately folded origami.
Crafting small objects from everyday materials can be fun and rewarding, allowing you to demonstrate your creativity. If you want to know how to make a heart out of a gum wrapper, then read this post thoroughly. Through this creative endeavor, you can transform discarded gum wrappers into symbols of love and creativity.
This small crafting project needs minimal materials and provides a delightful way to enjoy spare time or to create a special gift for loved ones.
Materials Needed:
To begin this paper crafting, you will need the following materials:
- Gum wrappers (collected from used chewing gum)
- A glue or double-sided tape
- Scissor
- Pencil
- Cardboard or paper (for the base)
- Markers or colored pencils (optional for decoration)
Let’s Delve into How to Make a Heart Out of a Gum Wrapper with Pictures:
Step 1: Unfolding the Gum Wrapper
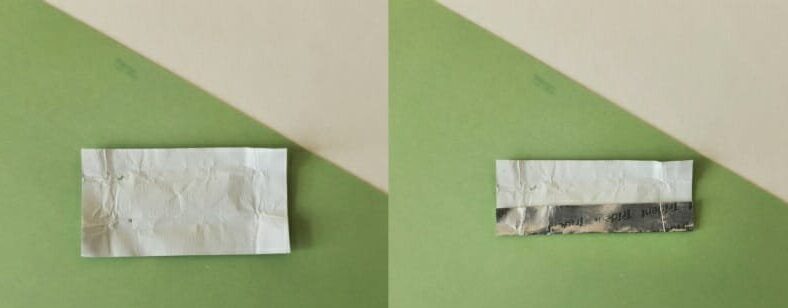
First of all, unfold the gum wrapper carefully. Make sure it’s a fully flat one. In other words, there is no crease or tear in the wrapper. Therefore, it is recommended to gently unfold it so that the subsequent steps will be easy to follow.
Step 2: Forming the Base of the Heart
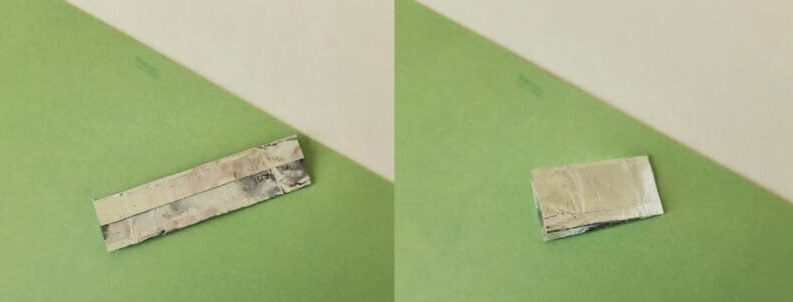
The next step is to make a base for the heart. To give your gum wrapper a heart shape, cut out a heart form from a piece of cardboard or thick paper. Additionally, this will act as the foundation for the gum wrappers to be attached. The heart size may vary depending on your preferences or the number of gum wrappers available.
Step 3: Creating the Top Curve
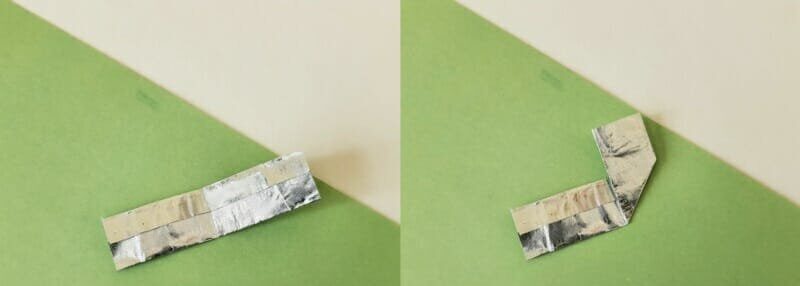
In step 3, fold the two upper corners of the rectangular base down diagonally to meet at the center crease. This will form the top curve of the heart shape. Adjust the folds to your liking, ensuring they are symmetrical and tight.
Step 4: Shaping the Heart’s Center
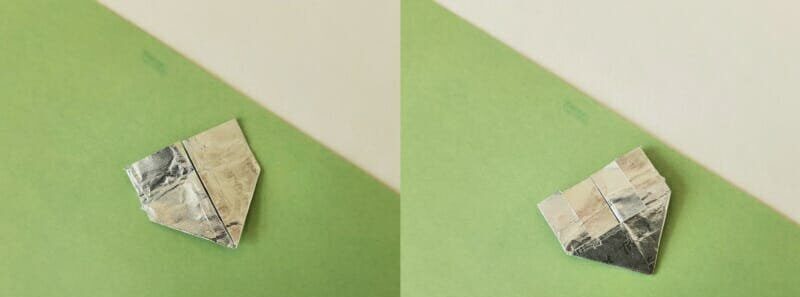
After that, fold the bottom of the rectangle upward, then align it with the top curve. This will create a triangular shape at the center of the heart. It may take some adjusting to achieve a balanced and visually appealing heart shape. Rub out any creases or rough edges.
Step 5: Defining the Heart’s Edges
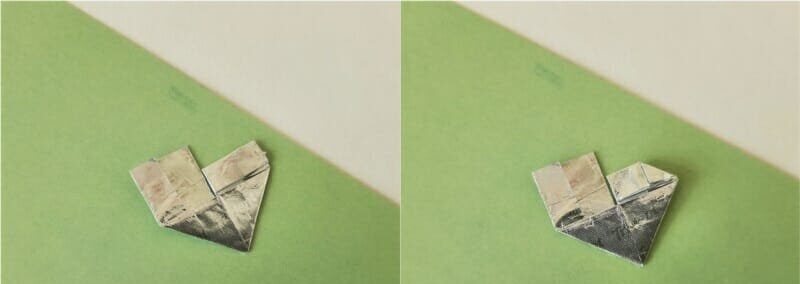
Fold the outer edges of the triangular section inward toward the center crease of the heart. This action will refine the heart’s shape, making the curves more apparent and defined. For the overall appearance of the heart, it is essential to make it symmetrical.
Step 6: Optional Security
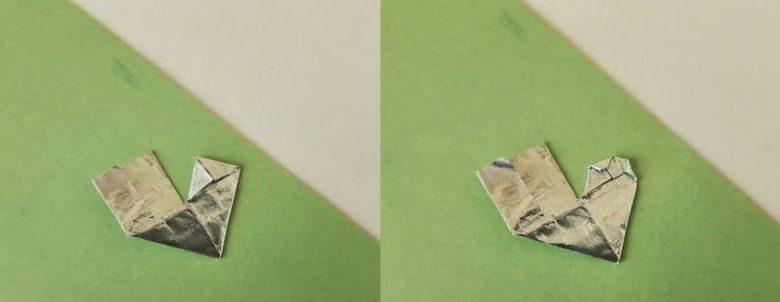
If desired, you can use a small amount of clear glue or double-sided tape to secure the edges of the gum wrapper heart in place. This step is optional but recommended to enhance its durability and longevity.
Step 7. Additional Decoration
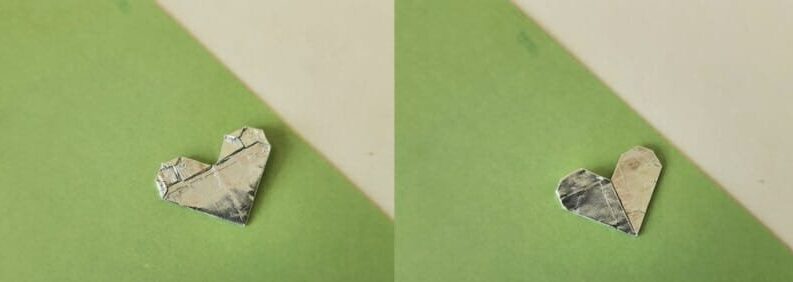
Finally, you can use markers or colored pencils to embellish the gum wrappers to give your gum wrapper heart a unique touch. This is entirely optional. It enables you to add more creativity and customization.
For more details, visit YouTube to learn how to make a heart out of a gum wrapper.
Wrapping Up
To wrap it up, making a heart shape out of a gum wrapper is an easy craft that lets you use your imagination and reuse common items. This handmade heart is a substantial symbol of your time, love, and effort—whether you make it for yourself or as a thoughtful gift. Try it out and experience the delight of turning an ordinary object into a creative and meaningful work of art.


